10.1. Lesson: Installation et gestions des extensions
Pour débuter l’utilisation des extensions, vous devez savoir comment les télécharger, les installer et les activer. Pour ce faire, vous allez apprendre à utiliser le Plugin Installer et le Plugin Manager.
Le but de cette leçon : Comprendre le système des extensions de QGIS.
10.1.1.  Follow Along: Gestion des extensions
Pour ouvrir le Gestionnaire d’extensions, cliquez dans le menu .
Dans la fenêtre qui s’ouvre, trouvez l’extension Processing :
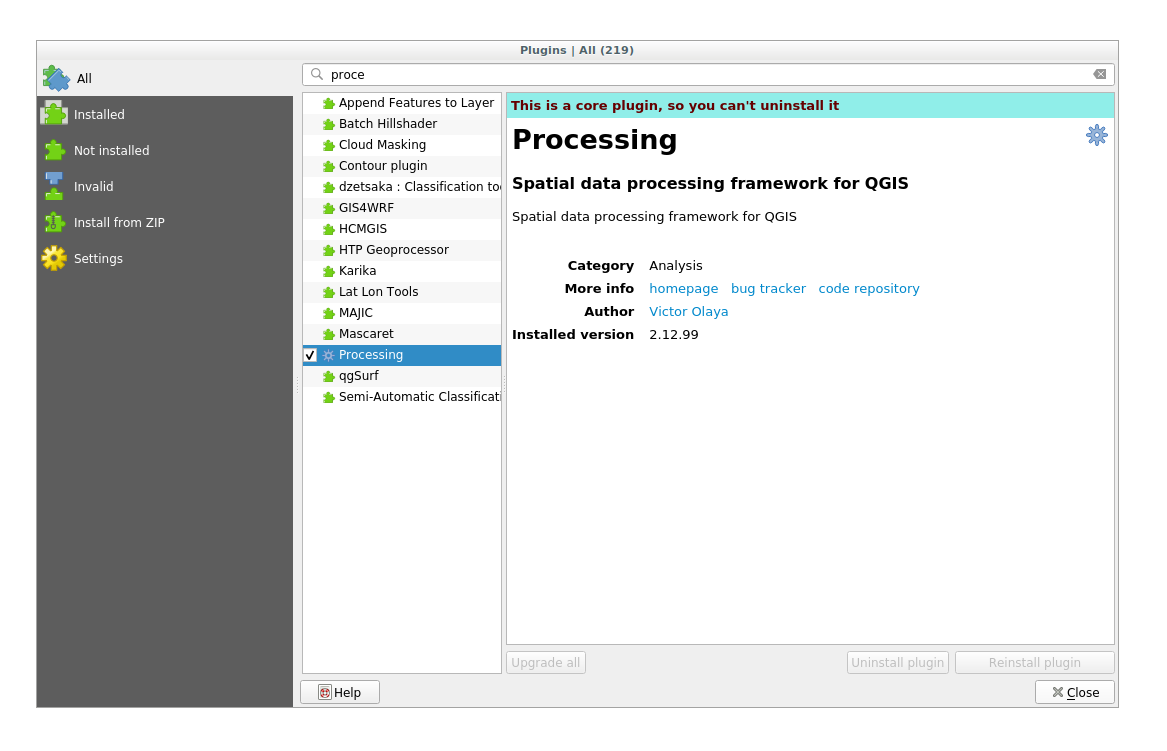
Click in the box next to this plugin and uncheck it to deactivate it.
Cliquez sur Fermer.
Looking at the menu, you will notice that the Processing menu is is now gone. This means that many of the processing functions you have been using before have disappeared! For example look at the and menus. This is because they are part of the Processing plugin, which needs to be activated to use them.
Open the Plugin Manager again and reactivate the Processing plugin by clicking in the checkbox next to it.
Close the dialog. The Processing menu and functions should be available again.
10.1.2. Follow Along: Installation de nouvelles extensions
The list of plugins that you can activate and deactivate draws from the plugins that you currently have installed. To install new plugins:
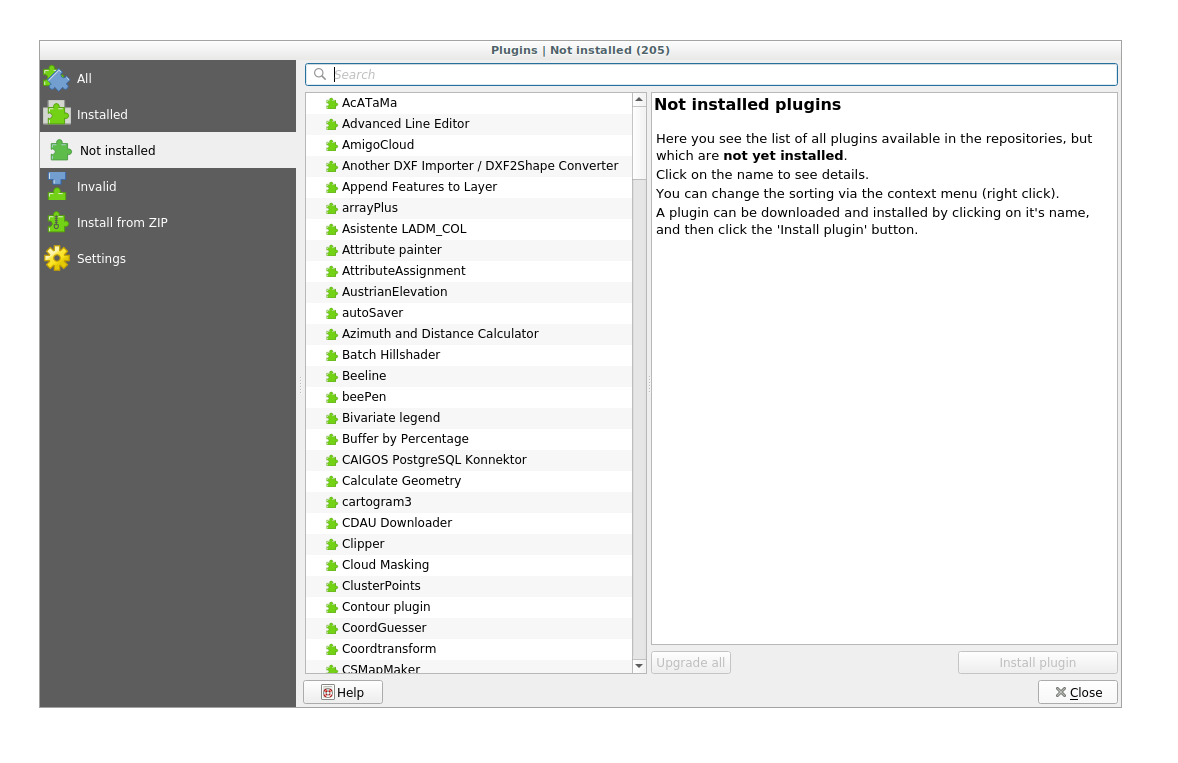
Select the Not Installed option in the Plugin Manager dialog. The plugins available for you to install will be listed here. This list will vary depending on your existing system setup.
Find information about the plugin by selecting it in the list
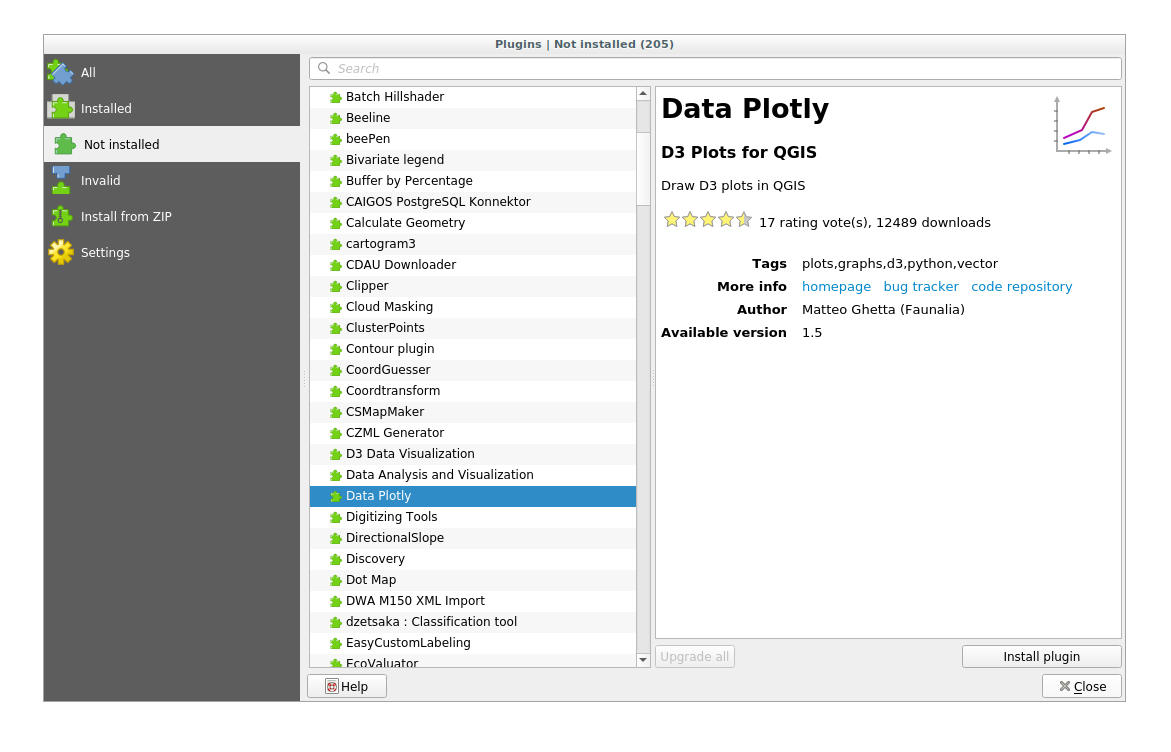
Install the one(s) you are intereseted in by clicking the Install Plugin button below the plugin information panel.
Note
if the plugin has some error it will be listed in the Invalid tab. You can then contact the plugin owner to fix the problem.
10.1.3. Follow Along: Configuration de dépôts supplémentaires d’extensions
Les extensions sont disponibles dépendant de quels dépôts d’extensions à utiliser sont configurés.
QGIS plugins are stored online in repositories. By default, only the official repository is active, meaning that you can only access plugins that are published there. Given the diversity of available tools, this repository should meet most of your needs.
Cependant, il est possible d’essayer plus d’extensions que celles par défaut. Premièrement, configurez les dépôts supplémentaires. Pour ce faire :
Open the Settings tab in the Plugin Manager dialog
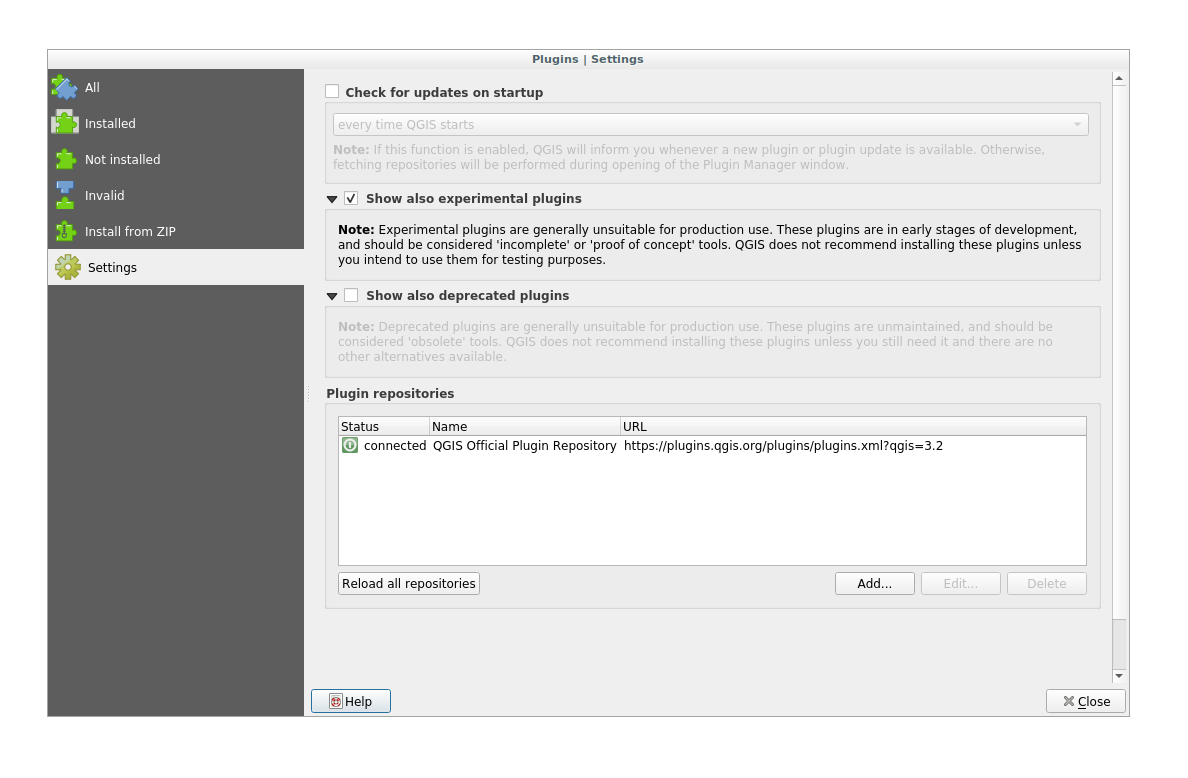
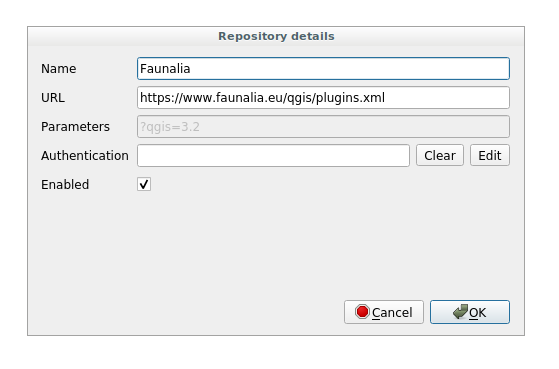
Cliquez sur Ajouter… pour trouver et ajouter un nouveau dépôt.
Fournissez un nom et une URL pour le nouveau dépôt que vous souhaitez configurer et assurez vous que la case Activé est cochée.
Vous devriez voir maintenant le nouveau dépôt listé dans la liste des dépôts d’extension configurés :
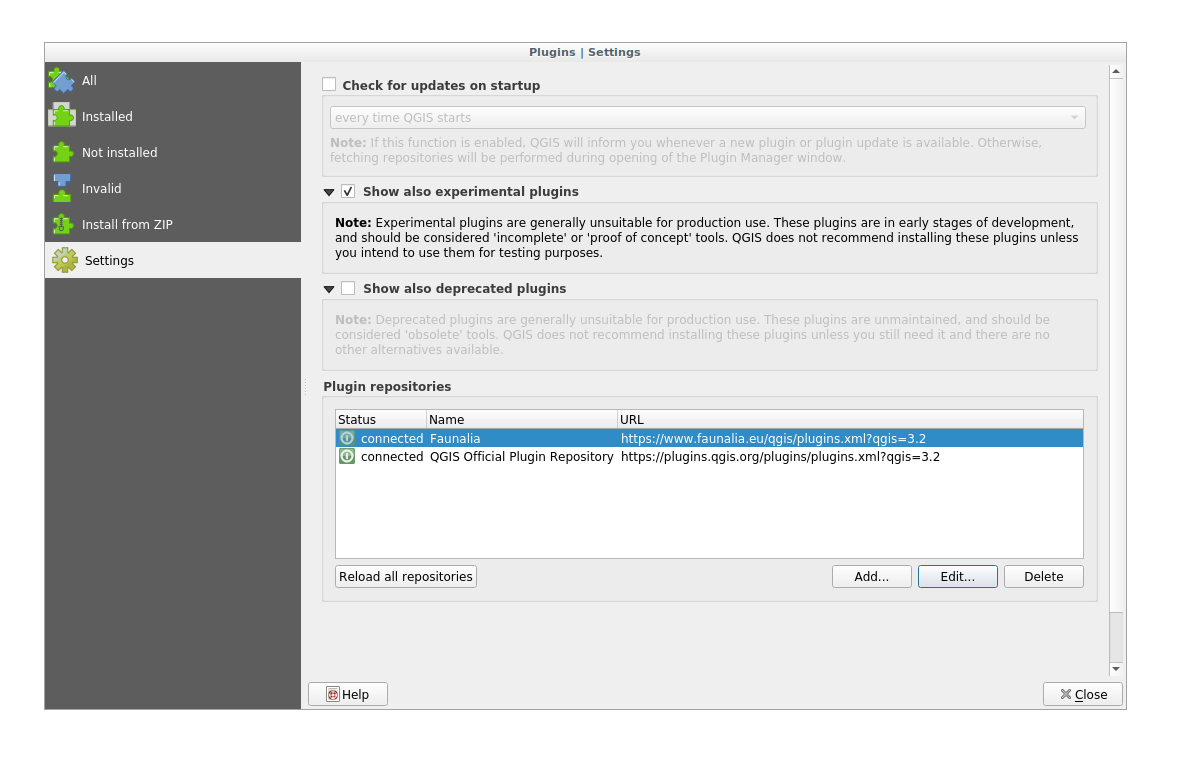
Vous pouvez également sélectionner l’option pour afficher les extensions expérimentales en cochant la case Afficher les extensions expérimentales.
If you now switch back to the Not Installed tab, you will see that additional plugins are available for installation.
To install a plugin, click on it in the list and then on the Install plugin button.
10.1.4. In Conclusion
Installing plugins in QGIS should be straightforward and effective!
10.1.5. What’s Next?
Nous allons ensuite vous présenter quelques extensions utiles comme exemples.